If you want your Instagram feeds to appear on your online store website, you need to get Token Access from Instagram. Instagram plugins use a special API that requires authentication-specific requests made on behalf of a user. This procedure will be completed only with the help of Instagram Access Token. Online Stores with Shopygo can be used to connect with your Instagram. First you must "create an app" on Facebook for Developers before generating your Access Token. Proceed with the following steps:
Sign up into Facebook and go to Facebook Developers Account
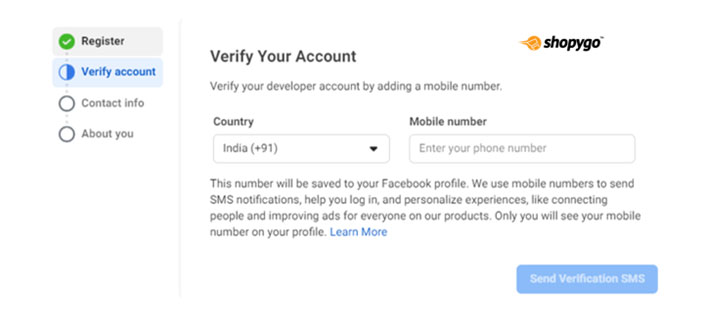
Facebook for Developers is an independent solution where you can sign in with an existing account or create a new one, which you will verify using the verification number Facebook will send to your phone.
OR
Go to Facebook for Developers and Click Get Started
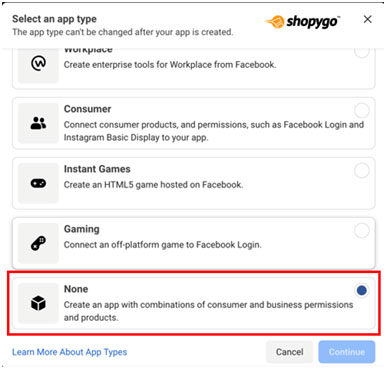
Click the Create App button, a popup window will appear, asking you to specify what your app should perform.

First select None Option to register an app with custom permissions.
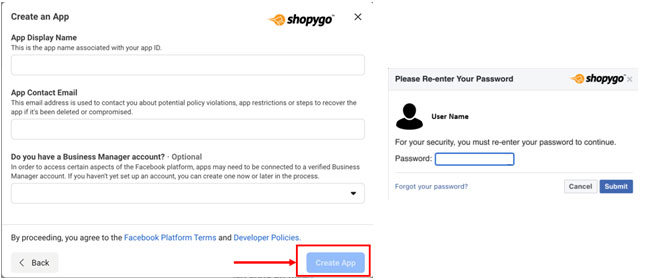
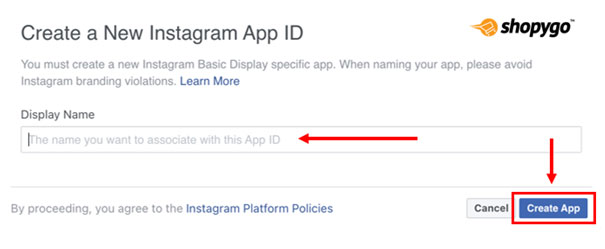
When you create an app, a pop-up box will appear in which you must enter the following information:
Then click on Create App button. For security you need to continue by providing your password.
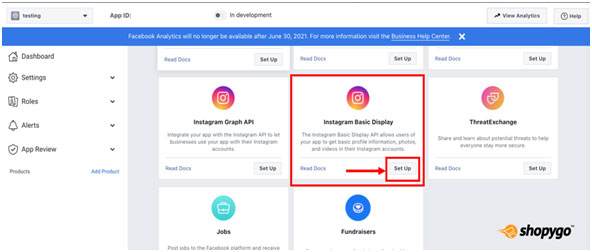
You will be directed to a new page after successfully adding a new app, where you must modify Instagram Basic Display and also add a tester in order to create your Access Token.
Under Instagram Basic Display, select Set Up. You'll notice that there are two Instagram alternatives. Select the Instagram Basic Display option.
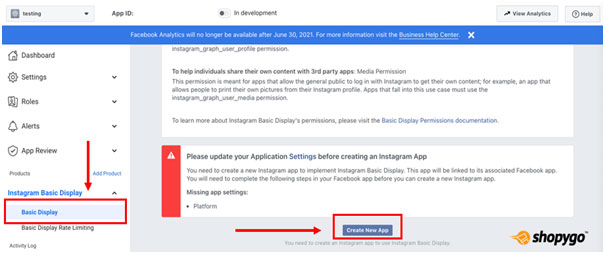
The next step is to generate Access Token. In order to generate an Access Token, you'll need to add an Instagram Test User here. Go to the Basic Display section of the menu. You will be automatically directed to this section after creating an app.
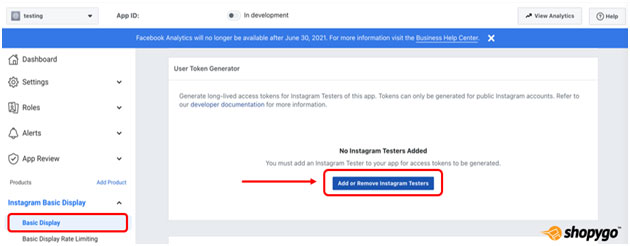
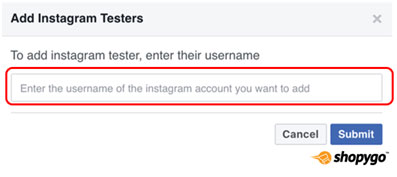
Click the option Add Instagram Testers. Make sure to add a tester to the Instagram Tester section because there are two options.
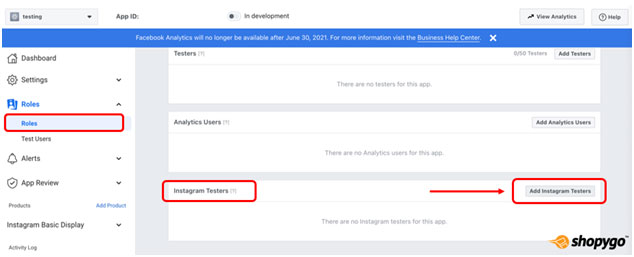
Add the Instagram User ID (username) for the Instagram Tester account you want to add.
When you enter the IG username into the field, a dropdown menu of suggested IG users displays, allowing you to double-check that you have provided the correct information.
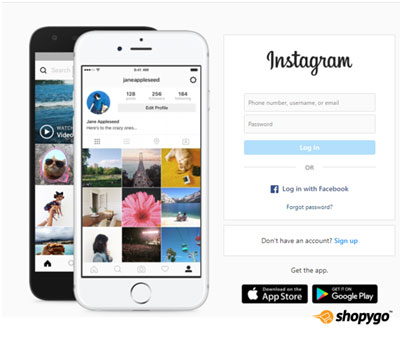
Then, Log in to the Instagram account of the Instagram Tester you selected.
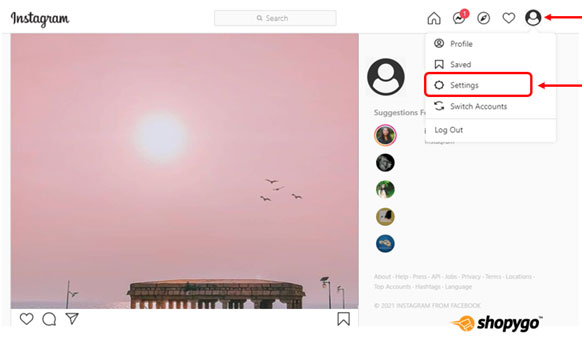
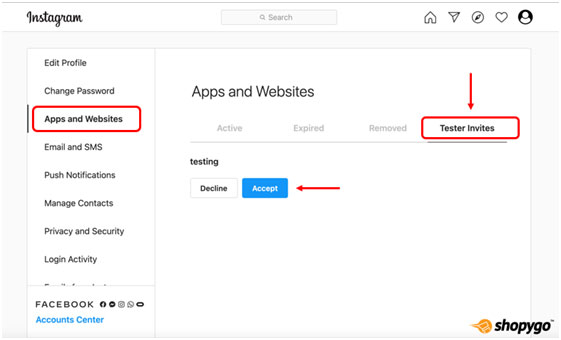
Click on the Tester Invites tab under Settings > Apps and Websites.
To accept the invitation, click Accept.
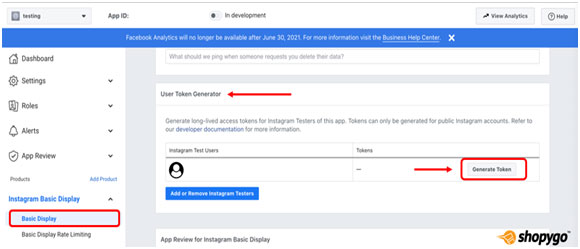
Return to the Facebook Developers dashboard. Select the app you created, then go to Basic Display. Click the Generate Token button in the User Token Generator section.
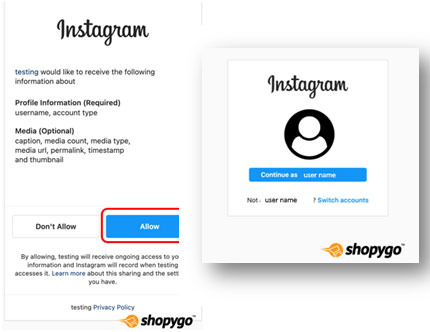
Note: Before the token is generated, you may need to re-login to your Instagram account in order to accept particular permissions.
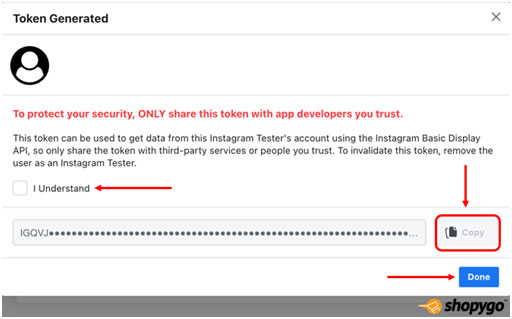
From the pop-up window, copy the Access Token.
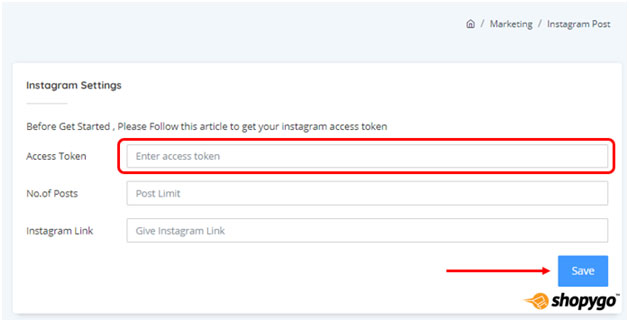
In the Plugin Setting, paste the Access Token.
Finally, login to your dashboard, Marketing> Instagram Post and paste the Access Token into the input box provided. Then your Instagram Feed is ready to be displayed on your website.
Thus, your Instagram feeds will be connected with your online store.


Try shopygo trial for 14 days, no credit card required. We will keep in touch with you by this
email to help you