You can easily start an online store with Shopygo, just by following the steps given in detail below.
For getting started with Shopygo, go to Shopygo.com and click on the Start a store option on the top right corner of the homepage. Now you will be directed to the registration page.
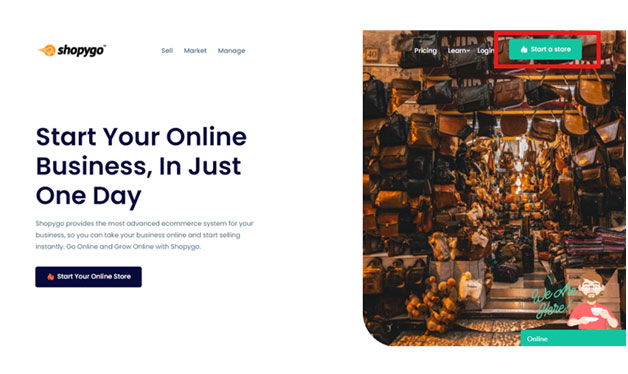
This is the store registration stage where you need to add all the given basic details to start your online store with Shopygo.
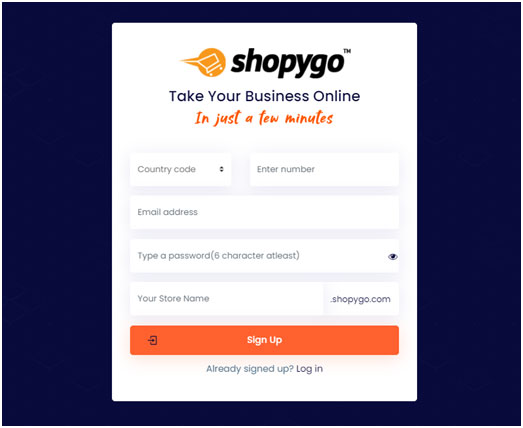
Provide the following details to register with Shopygo:
Verify all the details added and remember to note down the details added in this section. The mobile number and password provided here will be used for logging into your online store.
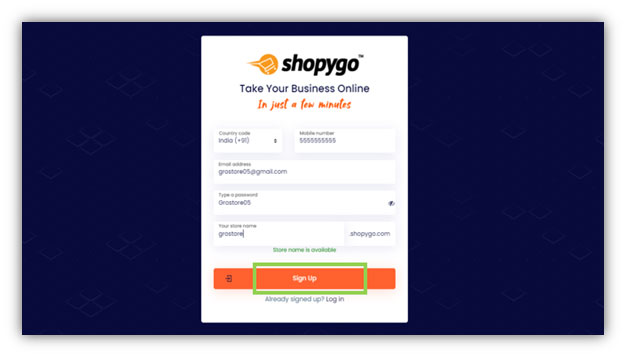
After adding all the details mentioned above, click on Sign Up button to proceed. By signing up successfully you have completed your store registration with Shopygo.
After clicking on Sign Up, an OTP will be sent to the mobile number you have provided. Then you will be directed to OTP verification page. Sometimes it will take few minutes to get the OTP in your number, so you need to wait until you get the OTP. After getting it, you need to enter the OTP here in page and click on Verify OTP button.
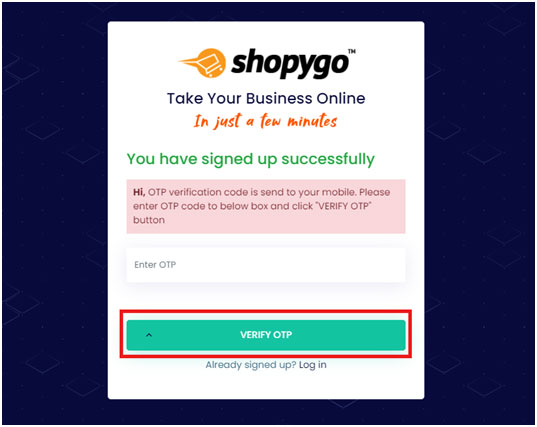
After successful verification of OTP, you will be directed to the next page to add further details of your store.
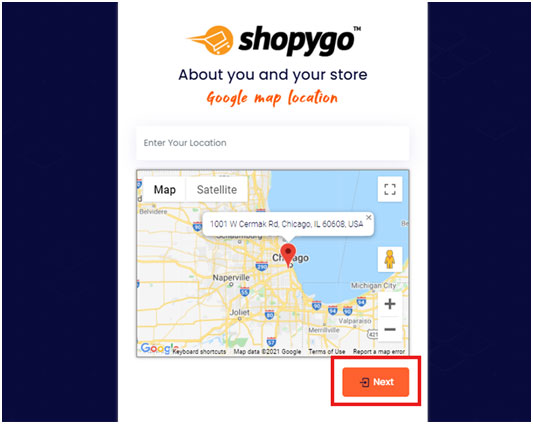
In the next page appears, you need to enter the location of your store. You can either enter your location or add the Google map location here. After adding the location details, then click on Next button to proceed.
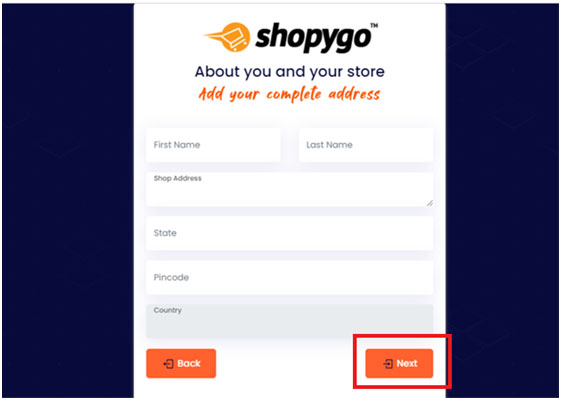
After adding your location, you will be directed to the next page where you can add further details about you and your store. Here you need to add the following details:
After adding the above details, click on Next button below to proceed.
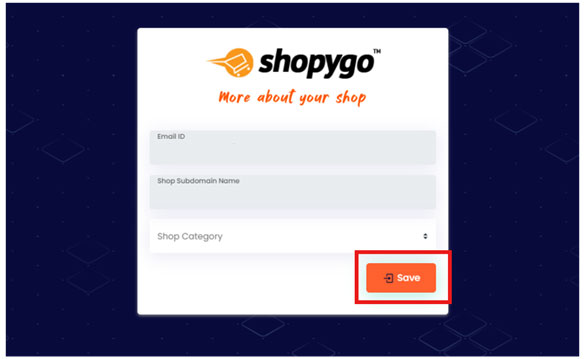
After adding your complete address, you can add more about your shop in the next page. You can update your email id and shop subdomain name. Then you can add the category of our shop. Select the shop category from the options given and click on Save to proceed.
Thus, you have completed adding details of your store with Shopygo. So now the pricing page will appear. You need to confirm your required pricing plan from the available options.
Here in the pricing plan page that appears, you need to pick a Shopygo plan that is affordable for you.
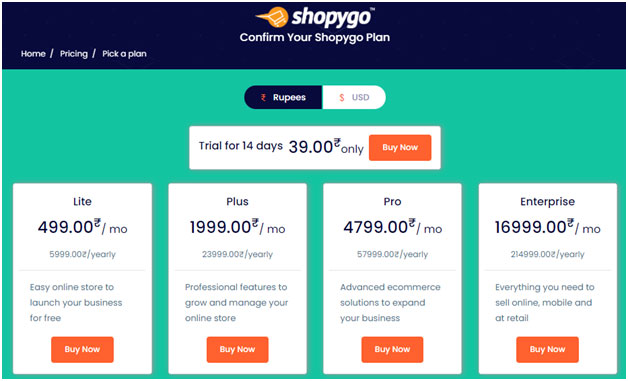
You can switch and view the pricing value in the currency you prefer, either in Rupees or in USD
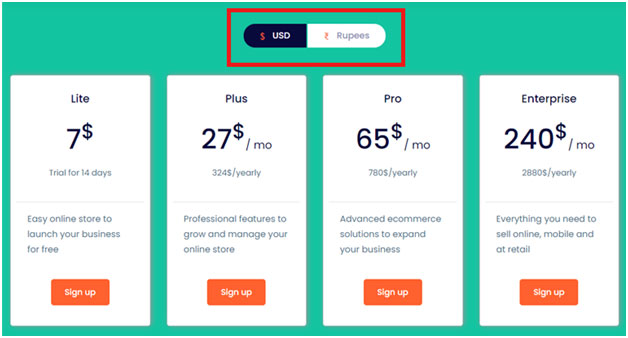
You can choose the right plan suitable for your store from the following 4 plans provided by Shopygo:
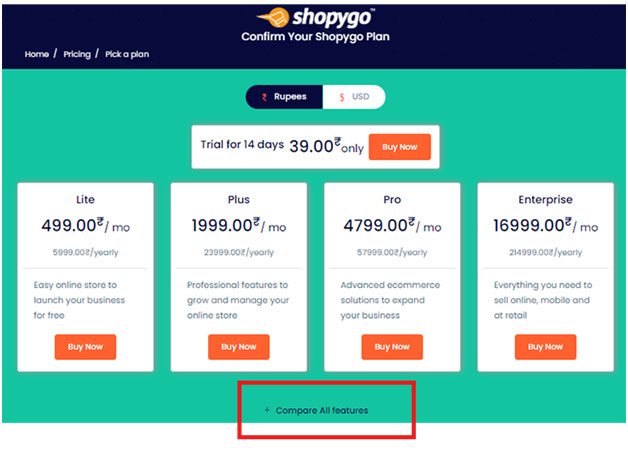
You can also get a Trial plan for 14 days, with the features of Shopygo Lite plan
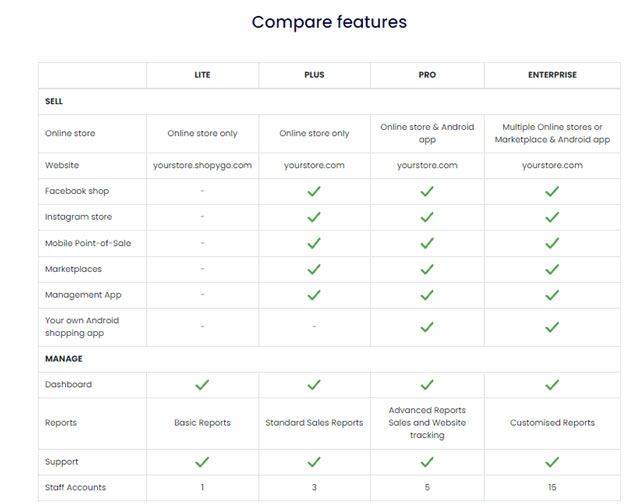
Scroll down the page and there you can find and compare all the features provided in each of the Shopygo plans
Go through the features and select a plan that provides enough features for your required online store.
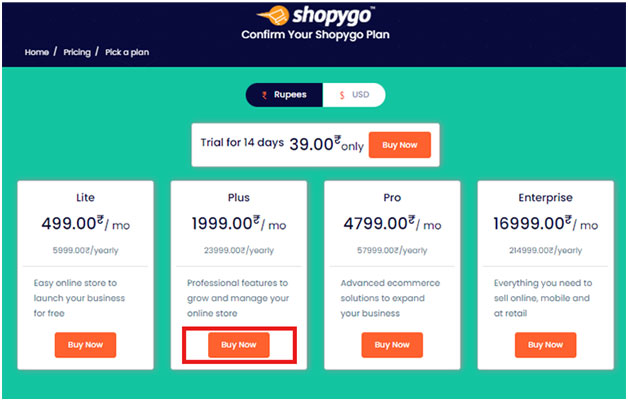
To proceed, click on Buy Now option corresponding to any plan that is right for you.
After selecting a Shopygo plan, you will be directed to Billing and Payment page.
This page is divided into two sections, in the left section you can view and edit the billing details. Check all the info and ensure all of them are correct.
Check and verify the following details:
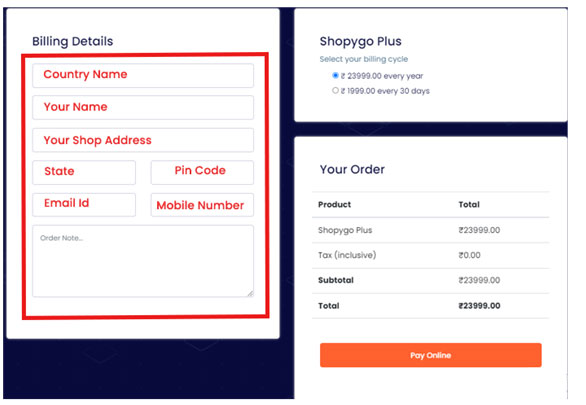
In the right section of the page, you can view the order details, i.e., the pricing of the plan you have chosen.
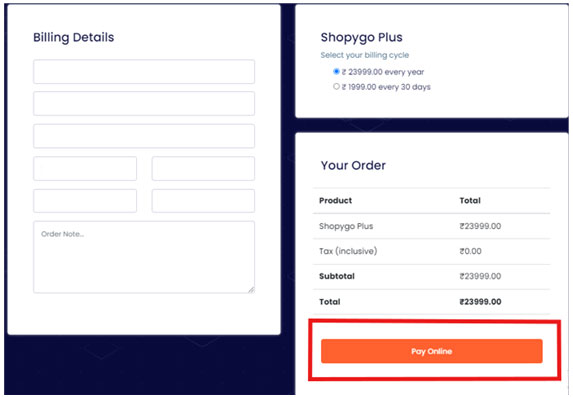
Click on Pay Online button to proceed to the payment of your Shopygo plan.
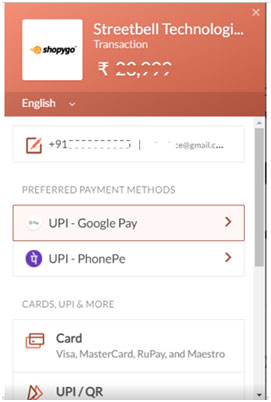
Now the mode of payment window appears in the page. You can proceed your plan payment with different payment options like, Card, UPI, Wallets, Net banking etc. with Shopygo.
Select your payment method, enter the details and click on Pay button to complete the payment.
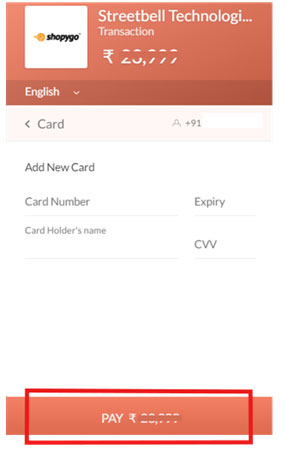
Complete your payment with the confirmation from your bank account and proceed.
After your payment is done, your order will start processing. It will take few moments to complete the order. The time taken for processing your order will be based on the flow of payment operations with your bank.
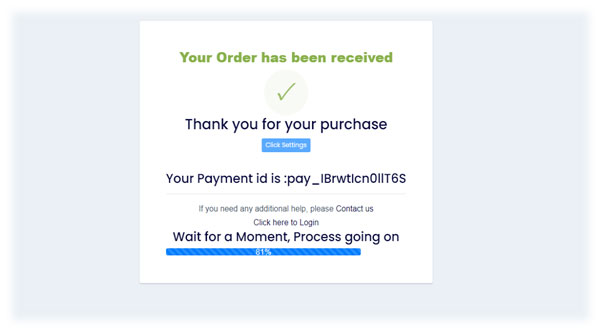
After a moment, your order will be processed completely, and an order confirmation window appears as below.
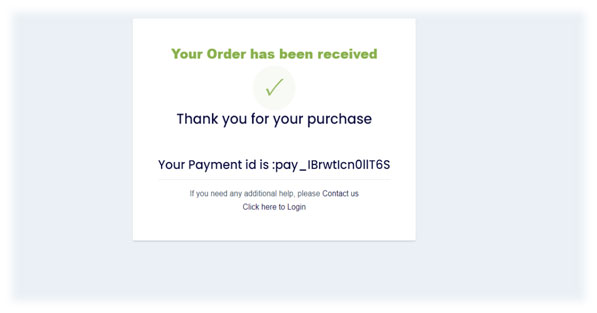
You can find your payment id here, for any future reference. You have successfully started your online store with Shopygo. Now you can easily Login to your store dashboard to start your online store operations.
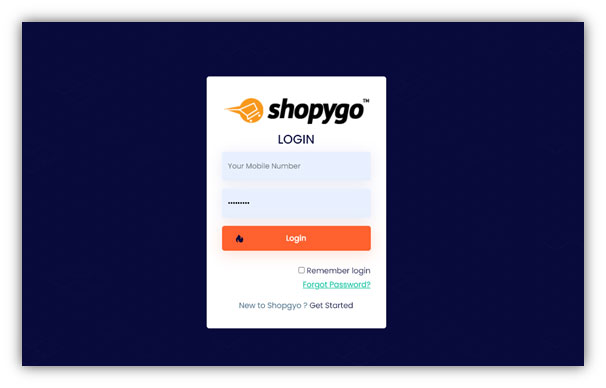
Login with your mobile number and password to Login to your online store.
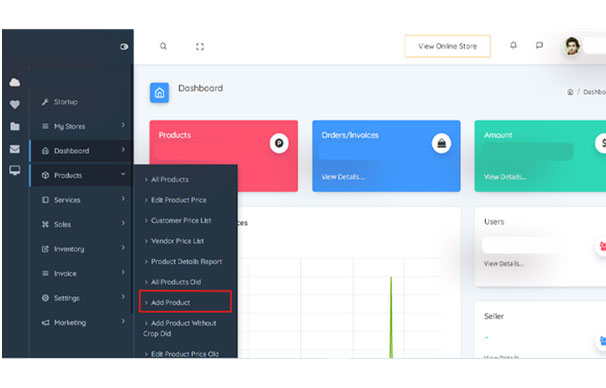
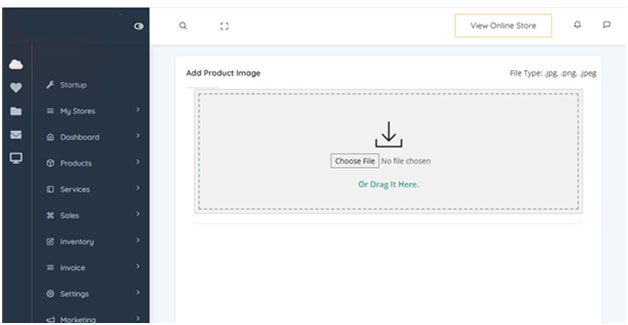
Login to your dashboard and go to the Products section. Simply select the Add product option from it.
Choose your product image and upload it in the new page appears. After adding the image, select and crop the image to continue.
To upload the product, you can add the product name, description, category and pricing details as the basic product details to appear in your online store.
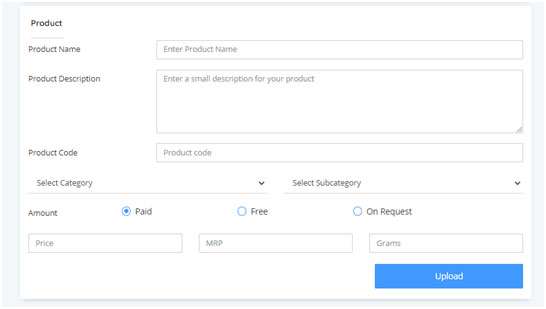
After adding the above details, you can simply click on Upload button to add the product to your store. Thus, your product will be successfully uploaded.
In the All products section of your dashboard you can find the uploaded product.
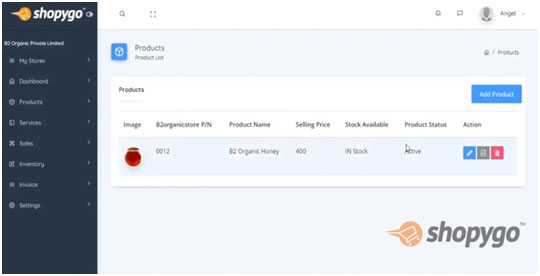
You can simply add unlimited products to your online store by continuing with these steps.


Try shopygo trial for 14 days, no credit card required. We will keep in touch with you by this
email to help you


